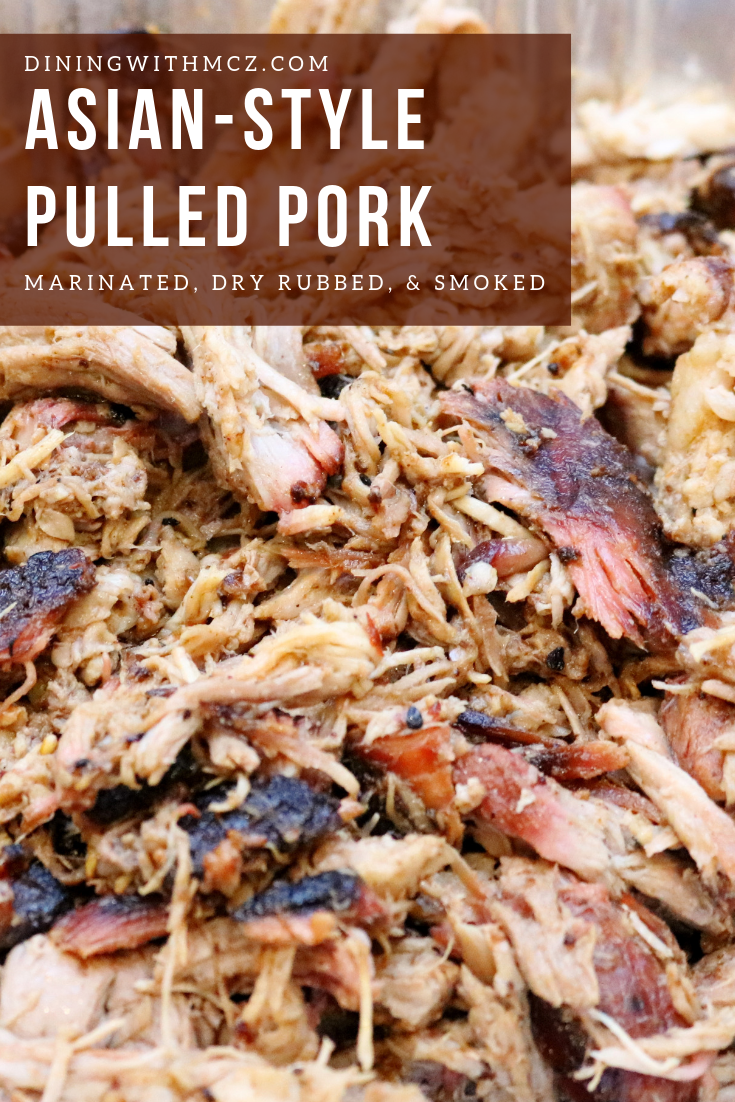
Asian-Style Smoked Pulled Pork
This recipe was inspired by a blend of past McZ recipes - it’s a combination of the Smoked Pulled Pork, Pork Belly Bao, and Asian-Style Rub. This version of the pulled pork also requires an overnight marinade and about 9-10 hours of cooking time. We strongly recommend cooking the pork the day before you plan to serve it, so that your guests aren't waiting around for the pork to finish cooking.
Yield: 20-25 4-oz. servings
Some of the links below are affiliate links, meaning at no additional cost to you, we'll earn a commission if you click through and a make a purchase.
If you’re curious what we use on the grill, check out our earlier post on McZ’s Top Tools For Grilling and Smoking!
Ingredients
For the Pork:
1 8-10 lb pork shoulder
2 cups soy sauce*
1 1/2 cup mirin
1/2 cup water
3-4 inch hunk of fresh ginger, peeled and roughly chopped
8 cloves garlic, peeled and crushed
2 bunches green onions, trimmed (white and light green parts only)
Sriracha, sesame oil, or vegetable oil (just for helping the rub adhere)
Hoisin sauce (optional)*
For the Rub:
1/2 to 3/4 cup Asian-Style Rub
Equipment
Blender
Smoker or charcoal grill
Disposable foil tray (large enough to accommodate the pork shoulder, about 9" x 13")
Baking sheet or large plastic cutting board
2-gallon zip top bag (or other large vessel for marinating)
Probe thermometer (like this)
Aluminum foil (I prefer to use heavy duty foil)
Deep metal roasting pan or deep foil tray for finished pork (9" x 13" or larger)
Charcoal (if using charcoal-based smoker)
Hardwood chunks for smoker/grill (ideally, choose pecan, apple, or cherry - I personally find mesquite and hickory to be far too strong)
Shredding claws (like these) or two large serving forks
Instructions
The night before smoking:
Remove the pork from its packaging and determine if it needs trimming. Some butchers and grocery stores sell the pork shoulders already trimmed, so this step may not be necessary for everyone. The top of the pork shoulder should have a thick fat cap. While you can leave it as is, it's best if its trimmed to about 1/8" to 1/4" thick. If you notice any areas that are thicker than that, simply run your knife parallel to and along the top surface to shave off some of the excess fat. Make sure to move the knife in a direction away from you. It doesn't need to be perfect, just do the best you can with the time you have. If you choose to skip the trimming step, the end result will be fattier and won't have as nice of a bark on the top surface.
In order to allow the pork to really take on the flavors of the marinade, use your knife to make several cuts, about an inch and a half deep, on each of the six sides of the pork shoulder. Set aside momentarily.
Combine the soy sauce, mirin, water, ginger, garlic, and green onion in a blender. Blend on high until the mixture is fully pureed and smooth.
Once the pork and marinade are ready, place the pork into the 2-gallon zip-top bag and pour the marinade in (in order to contain any leaks, I recommend placing the bag inside another vessel, like a roasting pan or pot). Marinate for at least 6 hours and up to overnight.
If you haven't already made the Asian-Style Rub, combine all ingredients and set aside in an air-tight container.
In the morning (starting around 7 am, if possible):
Pork Prep:
Prep your station by setting out the baking sheet or large plastic cutting board, the rub, and the sriracha/oil (I like to use a baking sheet since the vertical sides help keep rub from going all over the counter).
Remove the pork from the marinade and place onto the baking sheet. Pat dry on all sides with paper towel and wipe up any excess marinade from the bottom of the baking sheet. Turn the pork over so that the fat cap is facing down. At this point, I usually wash my hands and then dedicate one hand to the messy work while keeping the other clean.
Squirt a bit of sriracha/oil onto the pork with one hand and spread it all over surface and down the sides with the other hand. You just want a very thin layer of of the sriracha/oil on the pork - it's only there to help the rub adhere. With your clean hand, generously sprinkle the rub over the pork to develop a nice, even coating of rub. With your messy hand, lightly press the rub into the pork. Check to make sure you've applied the sriracha/oil and rub on all sides that you have access to. Flip the pork over so the fat cap is facing up and repeat - first with the sriracha/rub and then the rub. If you have a bit of extra rub, just leave it to the side for now.
Smoker Prep:
Now that the pork is ready to go, let it hang out at room temperature while you start the charcoal for the smoker. You're aiming for a temperature of about 275°F on the smoker.
When the charcoal is about ready to go, add the hardwood chucks to the top of the pile. Place the disposable foil tray on a lower rack of the smoker (if you have multiple racks, or on the base of the grill if you're using a charcoal grill set up for smoking/indirect heat). Fill the tray with about a half inch of water. Place the upper rack into the smoker and close the lid. Return to your pork.
The rub should look wet by this point, as the sugar in it has dissolved into the sriracha/oil a bit. If you have any excess rub, sprinkle it over the top and any accessible sides. Place the pork into the smoker, fat side up, positioned over the foil tray. The foil tray isn't required, but it certainly helps with clean up and can add moisture to the inside of the smoker to aid in cooking.
Insert a thermometer probe into the center of the pork (slide the probe from the side, parallel to the bone and spaced about 2 inches from the bone). Make sure the probe is not in contact with the bone. Guide the probe wire out to the side of the smoker and close down the lid. You can go ahead and plug the probe into the temperature display unit, but I usually don't start actively monitoring the temp of the pork until about hour 4-5 (and even then, I usually only turn the unit on when I'm there to check the temp; just give it a minute or two to equilibrate when turning the unit on again).
Cook:
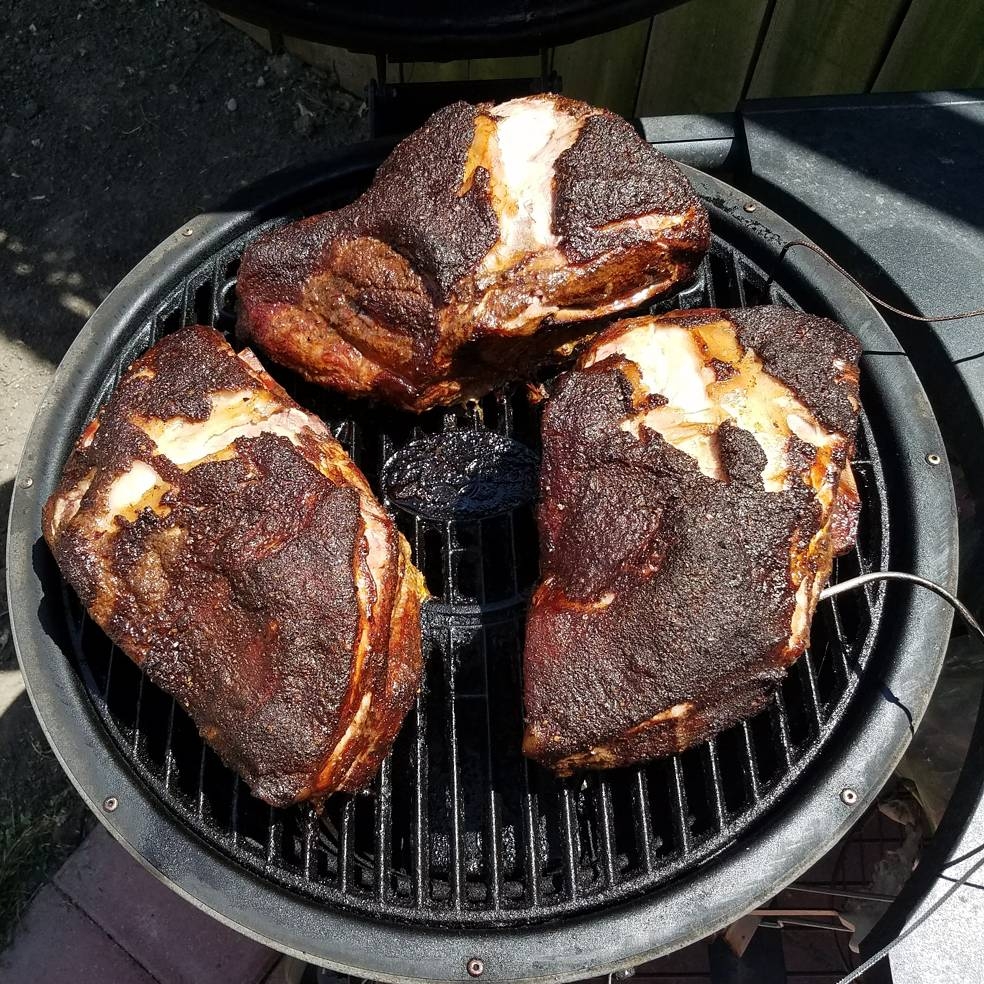
Smoke for about 9.5-10 hours, or until the internal temperature reaches about 200°F. I usually quickly check on the pork at about hour 5. Resist the urge to open the smoker and check on the pork too frequently.
Expect to hit a temp stall around 160°F and sometimes again around 180°F - this is normal. If the pork is taking forever to move past these temps, don't be afraid to bump up the temp of the smoker to about 300°F. When the pork is ready, carefully lift it off the grate and into your deep roasting pan or foil tray (I typically use my shredding claws to easily lift the pork from the smoker). If any bits of pork or bark stick to grate, pull them off and add to the pan.
Rest & Shred:
Bring the pork inside, loosely cover with foil, and let rest at room temperature for 45 minutes to an hour. After resting, remove the bone from the pork (it should slide right out) and start shredding. You can use two large serving forks to do this, but it's so much easier and faster to use the shredding claws.
Taste the pork and adjust the seasoning with salt if needed (it usually doesn't need it, but sometimes I'll mix in up to about 1/4 teaspoon of salt). Serve warm.
Optional: If you taste the pork and want a bit more of a punch of flavor, drizzle about 1/3 cup of hoisin sauce over the top of the warm pork and blend with your shredding claws or forks until fully incorporated. We recommend this step if you’re going to be using the pork in the Asian-Style Pulled Pork Bao or Asian-Style Pulled Pork Spring Rolls (but you can always add it later too).
Storage:
If not serving right away, cover with foil tightly and stash the pulled pork in the fridge up to three days. To reheat before serving, place the covered tray in a 300°F oven for about an hour or until warm, stirring occasionally.
If you're making a large batch of pulled pork for future use, divide the pork into labeled, quart-size zip top bags (about one pound per bag), seal and lightly flatten. Stack bags in freezer. When you're ready to use the pork, thaw the bag overnight in fridge. If you're only using about a pound or two of the meat, I suggest reheating the pork on the stove. Add about a tablespoon of vegetable oil to a medium saucepan over medium-high heat and add in the pork. Break apart the meat with tongs as you stir. Cook until warmed through. If you're using a lot of the frozen meat, transfer it into a 9" x 13" pan, cover with foil, and heat in the oven as above.
Uses:
From a 10 lbs. pork shoulder, you can expect to yield about 6 lbs. of cooked, shredded meat. A few options to consider for your mountain of meat are set out below.
Using all 6 lbs at once?
Serve about 24, 4-oz. pork sandwiches at a party.
Serve about 48, 2-oz. pork slider sandwiches/bao at a party.
If you're storing the pork in about 1 lb. bags in the freezer, a few other ideas:
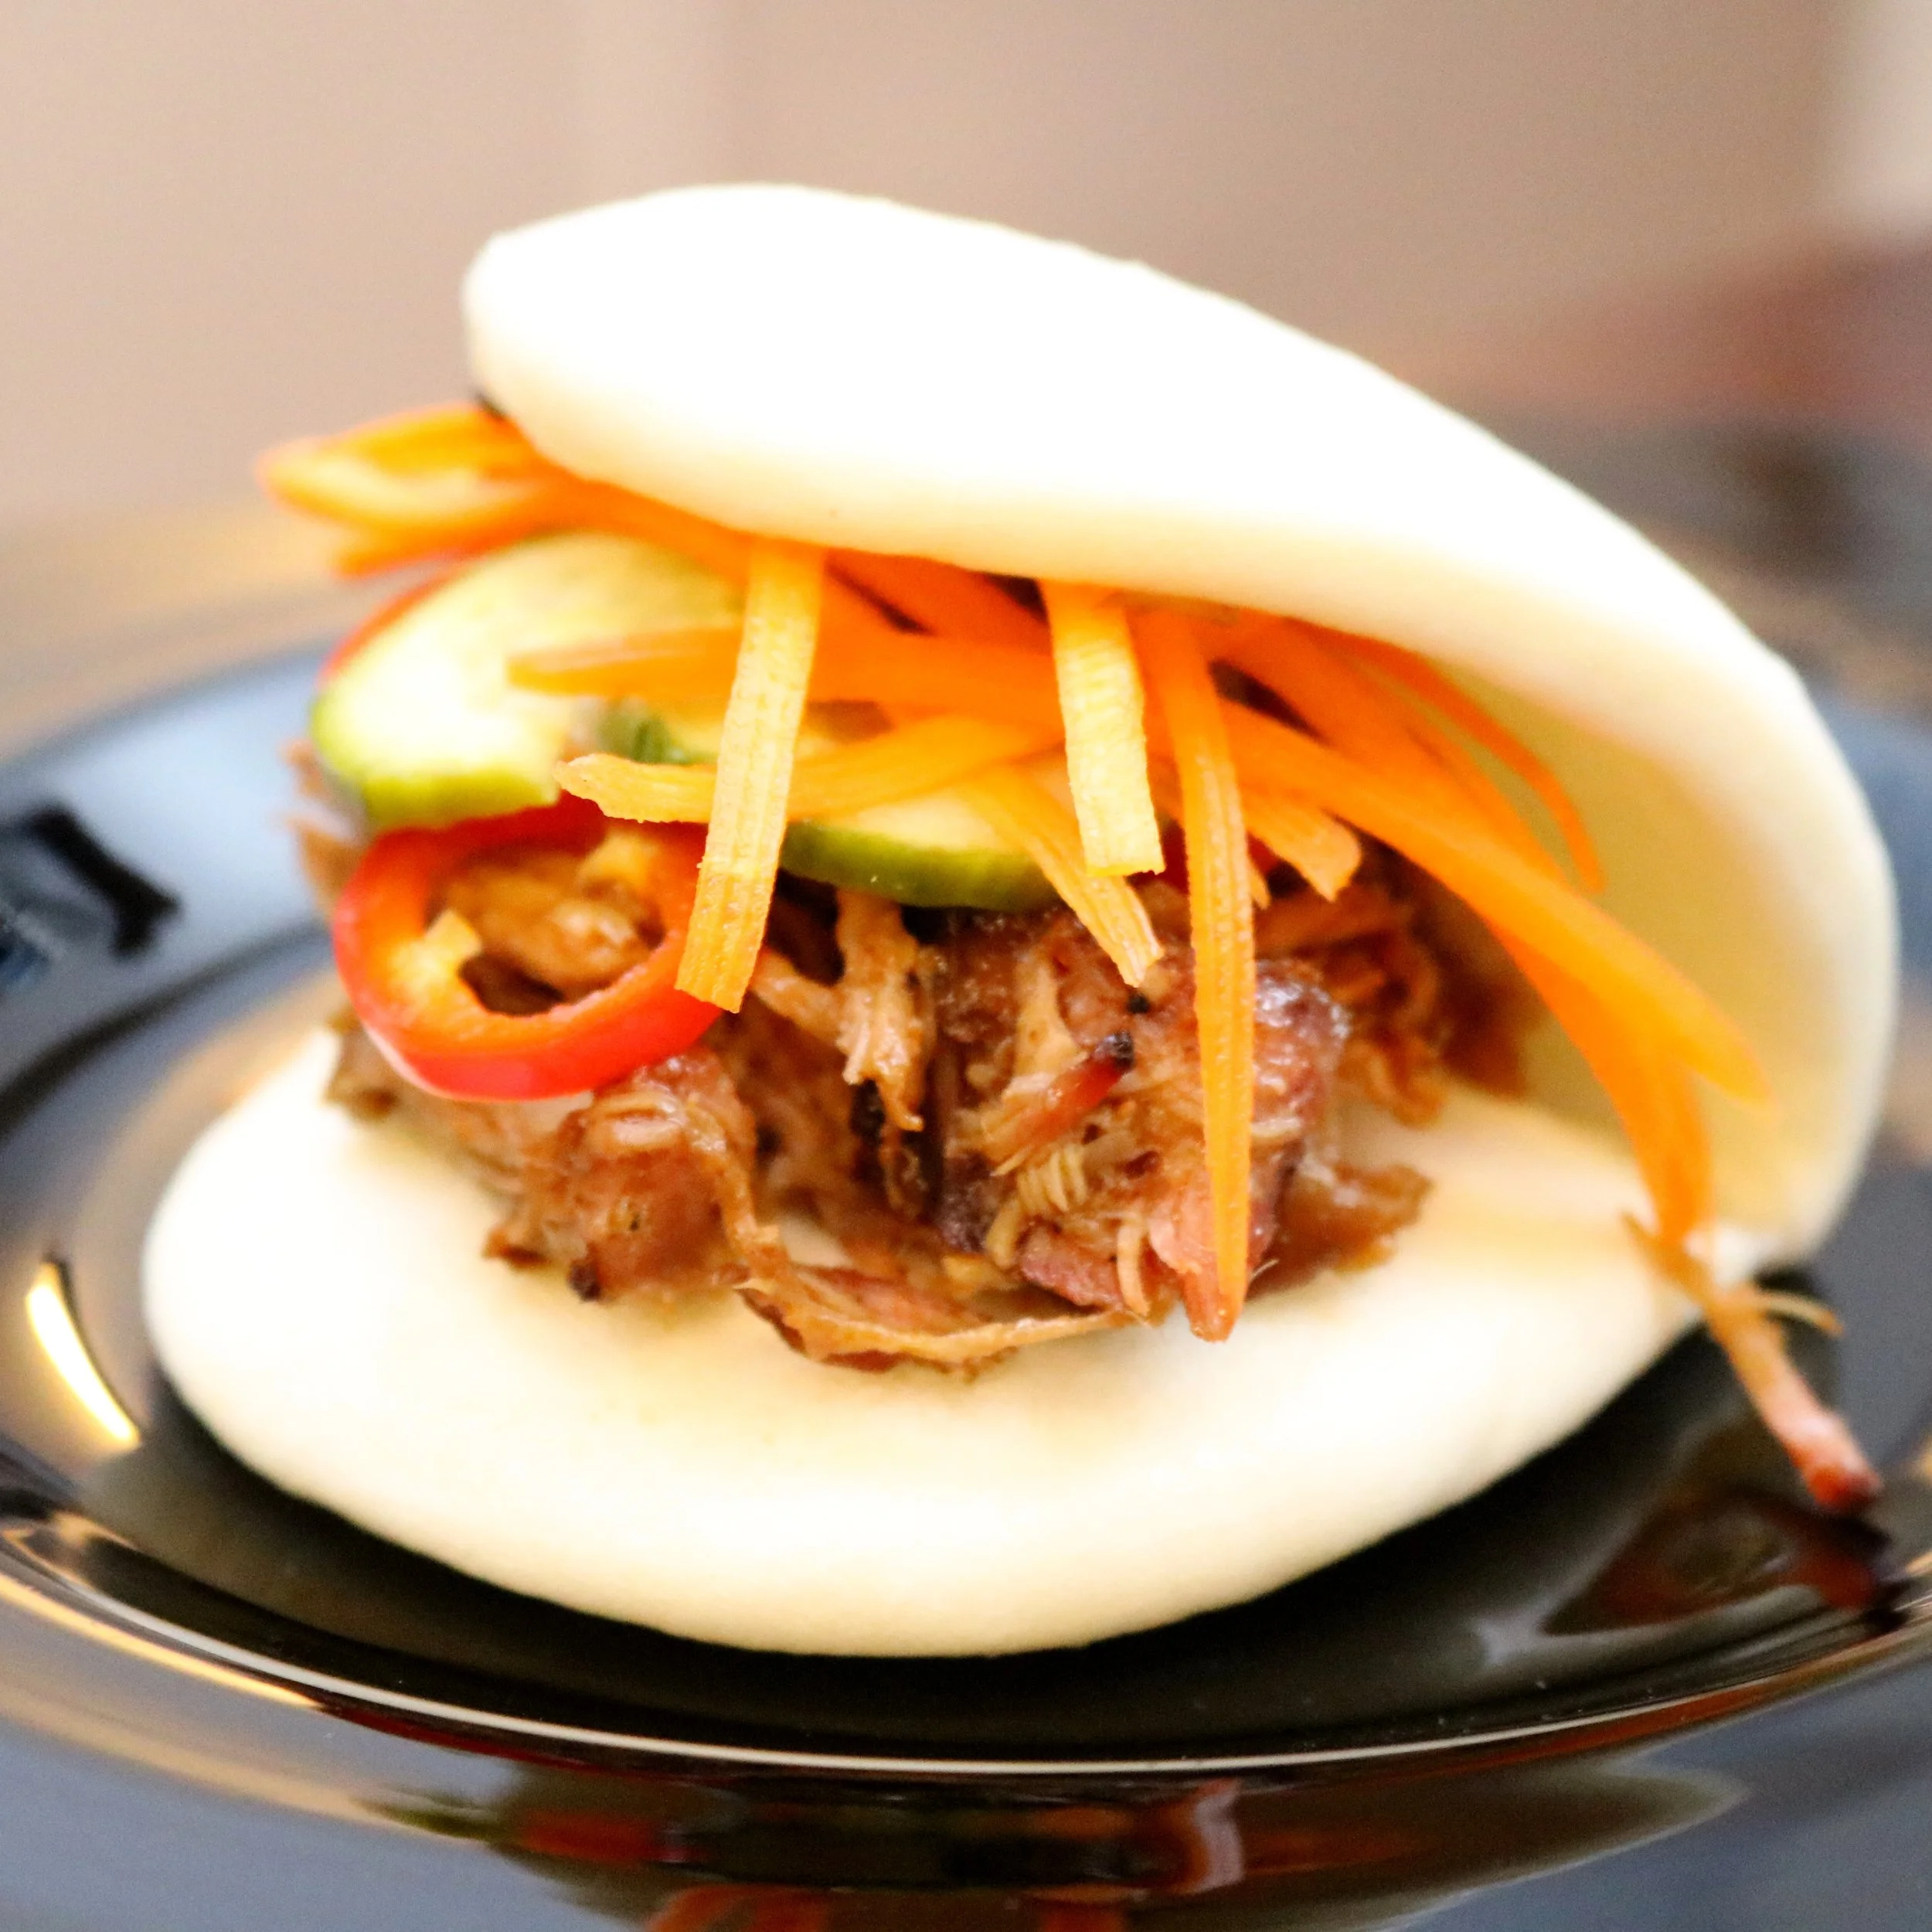
Dedicate about 1 lb. to Asian-Style Pulled Pork Bao (4-6 servings).
Put 1 lb. towards an Asian-Style Pizza Night (4 servings).
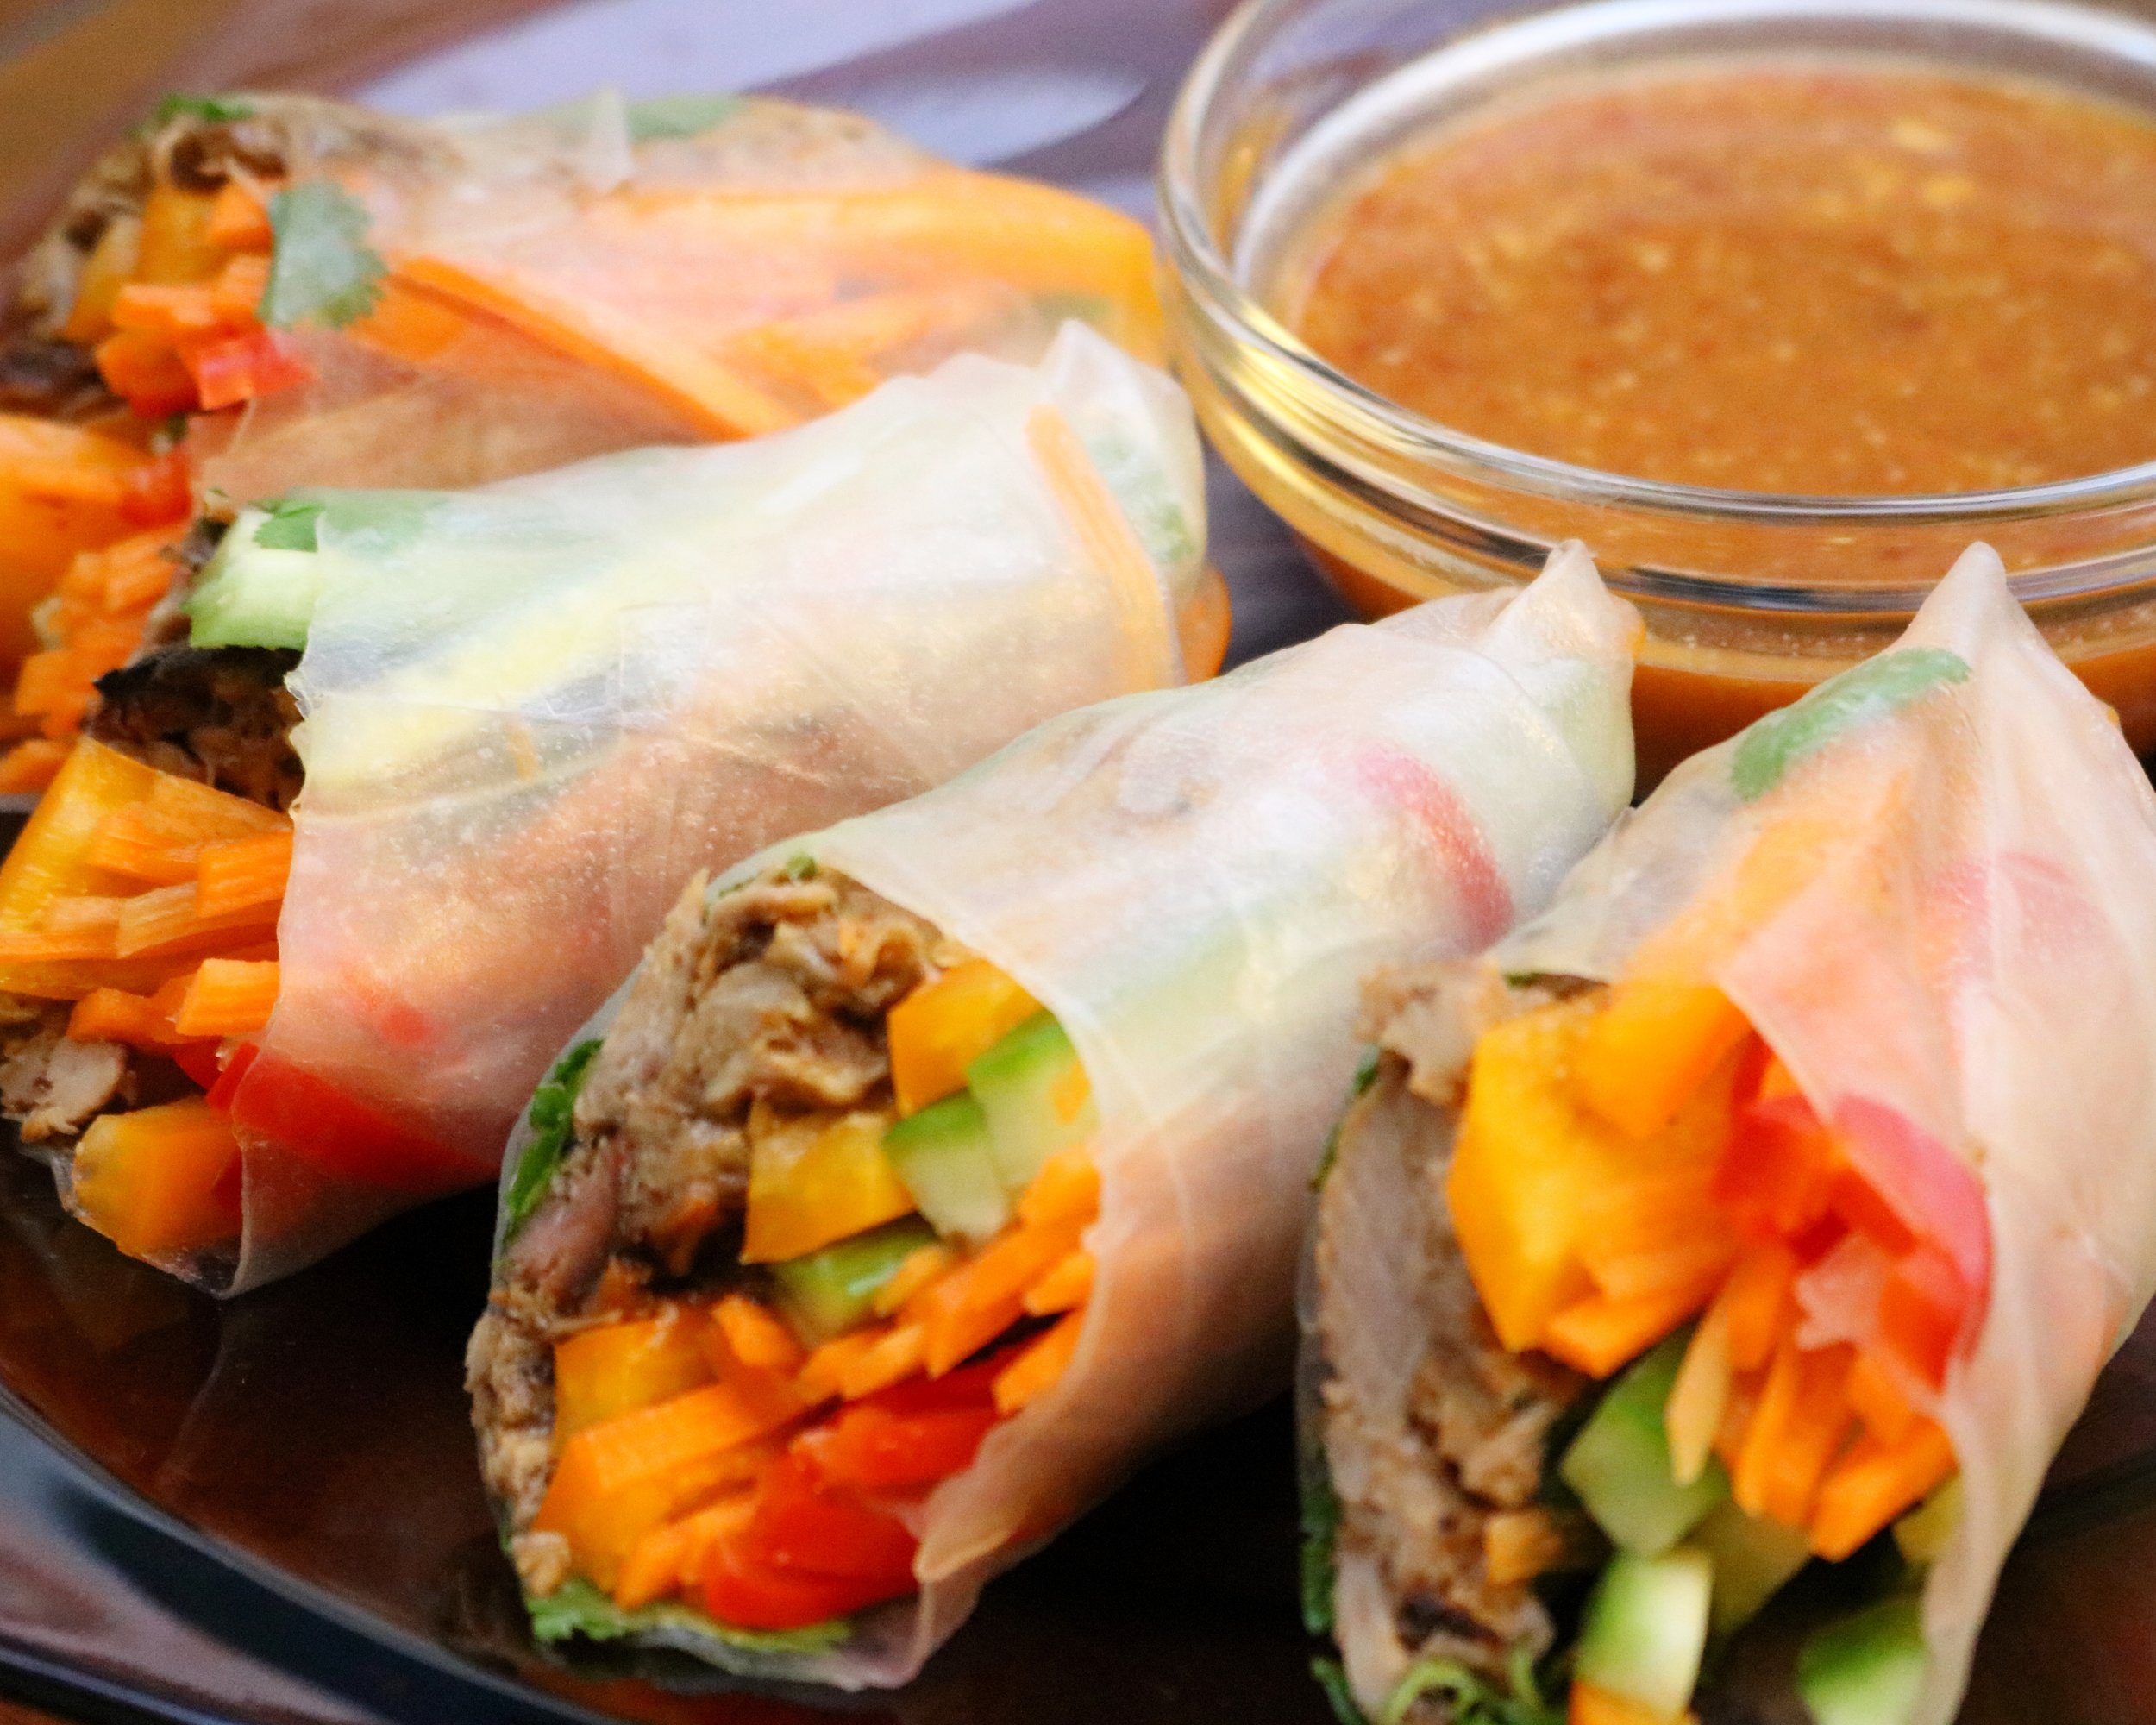
Use 1 lb. in with Asian-Style Pulled Pork Spring Rolls (3-4 servings).
Use 1 lb. in lettuce wraps with fresh vegetables and pickles for a light dinner (4 servings).
Bring 3 lbs of frozen pulled pork, sealed in 1-lb. portions, to a neighbor or friend in need of some help with meals (think new baby, bereavement, illness, etc.). Casseroles are great, but pulled pork is far more versatile and can be thawed and reheated quickly. It's a great protein option for sandwiches and lettuce wraps.
Notes
*For anyone with celiac disease or a gluten intolerance, choose a gluten-free soy sauce, such as La Choy Soy Sauce or San-J Gluten Free Tamari Soy Sauce. Same for the hoisin sauce - Lee Kum Kee makes a good gluten-free hoisin sauce.
Recommended Equipment
Probe Thermometer:

Shredding Claws: