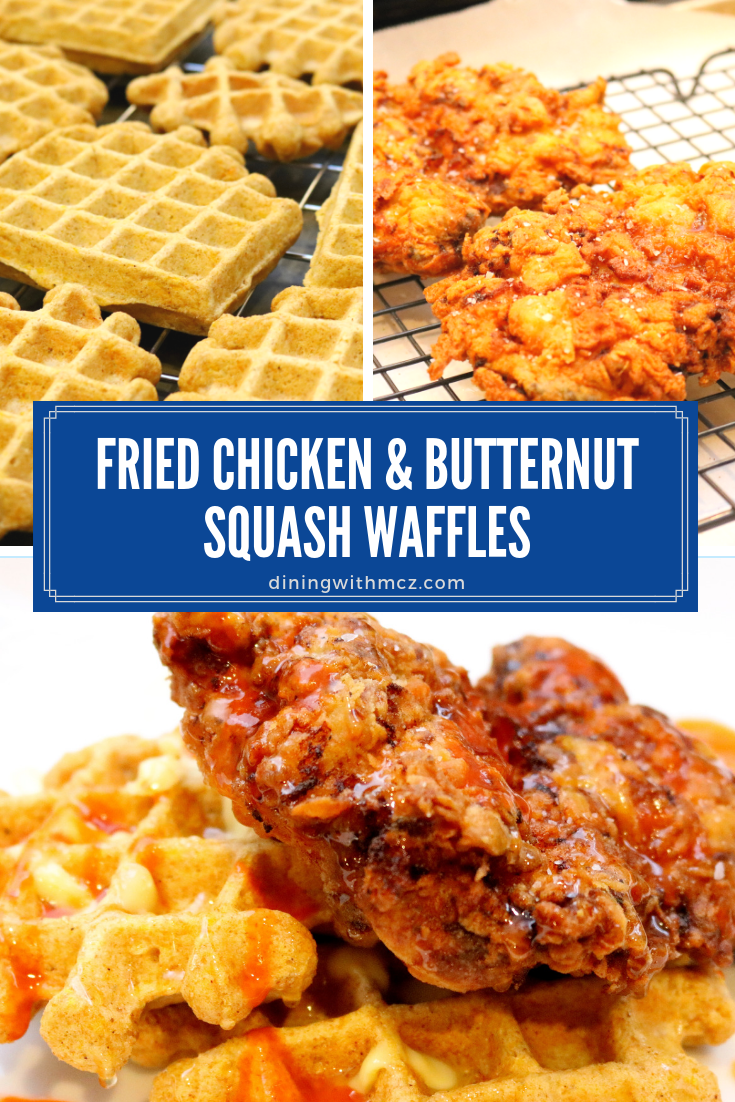
Fried Chicken (and Butternut Squash Waffles)
We’re always in pursuit of better fried chicken. Pair it with some fluffy waffles and top with a drizzle of honey and hot sauce? Now you’re talking. Jeff got the idea for this recipe after watching some episodes of Ugly Delicious. We don’t know if our version comes close to the secret recipe featured on the show, but it certainly did the trick for us. The coating on this fried chicken is super crunchy and sticks to the chicken well. Make the batter for the chicken and let it hang out in there overnight. At dinner time the next day, simply press the chicken into seasoned flour and into your frying oil.
UPDATE: Our pursuit of fried chicken has continued, and we have an updated recipe here! This version is still tasty, but the updated recipe has a bit more kick to it.
Yield: about 4-6 servings
Ingredients
2 lbs. boneless, skinless chicken thighs
Oil for frying (such as canola/vegetable/peanut oil)
Honey (for topping, optional)
Hot sauce (for topping, optional)
Cast iron skillet
Baking sheet and cooling rack
Instant thermometer
For the batter
1 1/2 cups buttermilk
3-4 dashes hot sauce (such as Crystal’s Hot Sauce)
1 teaspoon kosher salt
1/4 teaspoon fresh ground black pepper
1/4 teaspoon cayenne
1 egg
1 cup quick-dissolving flour (such as Wondra Flour)
Zip-top bag
9” x 13” pan or similarly sized baking sheet
For the final breading
2 cups all-purpose flour
1 teaspoon salt
1/4 teaspoon cayenne
1/4 teaspoon fresh ground black pepper
Baking sheet and cooling rack
Instructions
The night before
Whisk together the buttermilk, egg, hot sauce, salt, pepper, and cayenne in a small bowl. Whisk in the quick-dissolving flour a 1/4 cup at a time, making sure that each addition is well-mixed before adding the next.
Place the chicken thighs into the zip-top bag and pour the batter over the top. Seal the bag and mix the contents around to make sure the chicken is fully coated. Flatten the bag out to arrange the chicken thighs in a single layer and place in the 9” x 13” pan. Stash in the fridge overnight.
Day of
Remove the pan from the fridge at least 45 minutes before you’re ready to fry the chicken to let it come up to temperature a bit.
About 20 minutes before you’re ready to cook, combine the flour, salt, cayenne, and pepper in a small dish (we like to use loaf pans for breading since they have high sides and just enough space to lay a piece of chicken in flat). Place a cooling rack on a baking sheet.
Taking one chicken thigh from the bag at a time, move it directly into the flour mixture. Press it down into the flour. Flip it over and repeat. Remove the breaded chicken to the cooling rack. Repeat with the remaining thighs. Allow the breaded chicken to rest at room temperature for at least 15 minutes before frying.

Flour coated chicken thighs
While you’re letting the chicken rest, begin to preheat your oil in the cast iron skillet. We usually shallow fry, with about 3/4” to 1” of oil in the skillet. The oil should be around 350°F to 375°F for frying (if you start on the higher end of the range, once you add the first batch of chicken, the oil will drop to the ideal temperature of about 350°F). If you’re making the Butternut Squash Waffles to pair with this recipe, go ahead and start making the batter now, if you haven’t already.
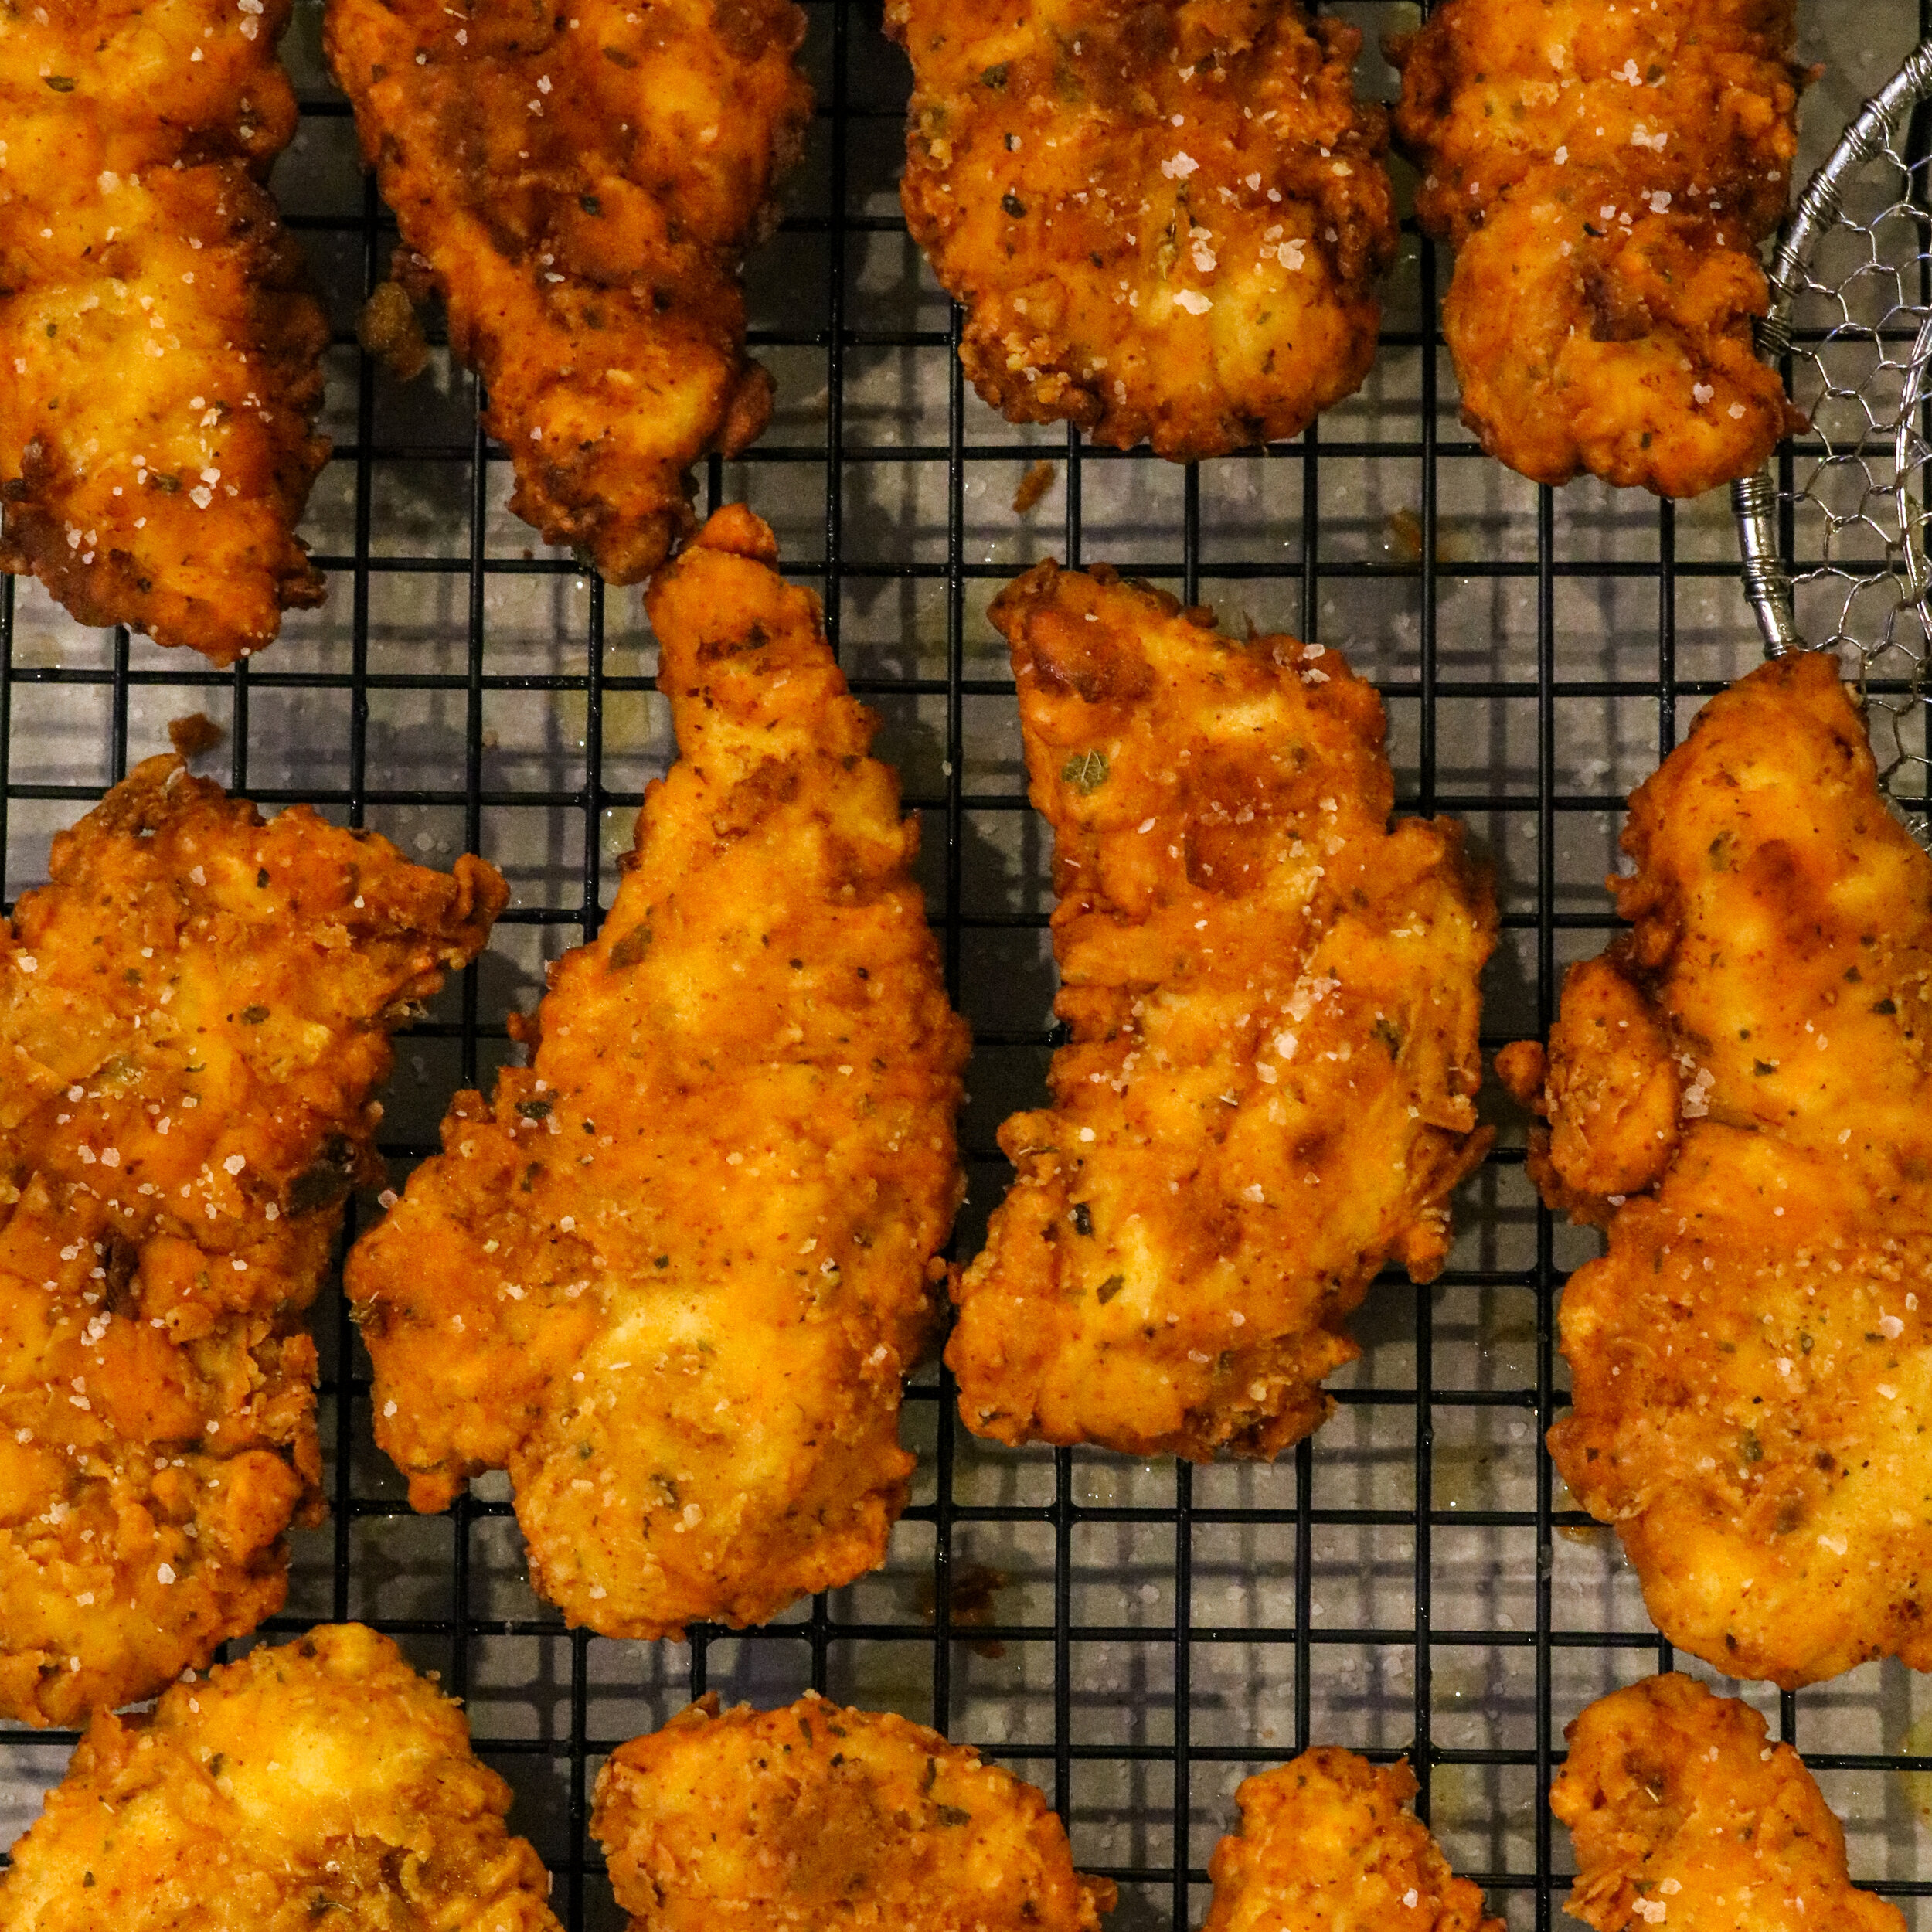
Fry the breaded chicken thighs in batches (about two at a time, depending on the size of your skillet). With fairly large thighs, you can expect this to take around 7-8 minutes per side. Once the chicken looks deep golden brown and crispy, remove it from the skillet to a clean cooling rack set over another baking sheet. Check the internal temperature of the meat (it should be at least 165°F). Sprinkle with a little kosher salt, if desired.
Allow the fried chicken to rest on the cooling rack for at least 15 minutes (20 minutes is even better) before serving. If you’re frying a lot of chicken at once or frying in a bit in advance, you can place the fried chicken on the baking sheet and rack in a warm oven (175°F to 200°F) until you’re ready to serve it. While the fried chicken is resting, cook the waffles.

Fried Chicken on a cooling rack, right out of the oil
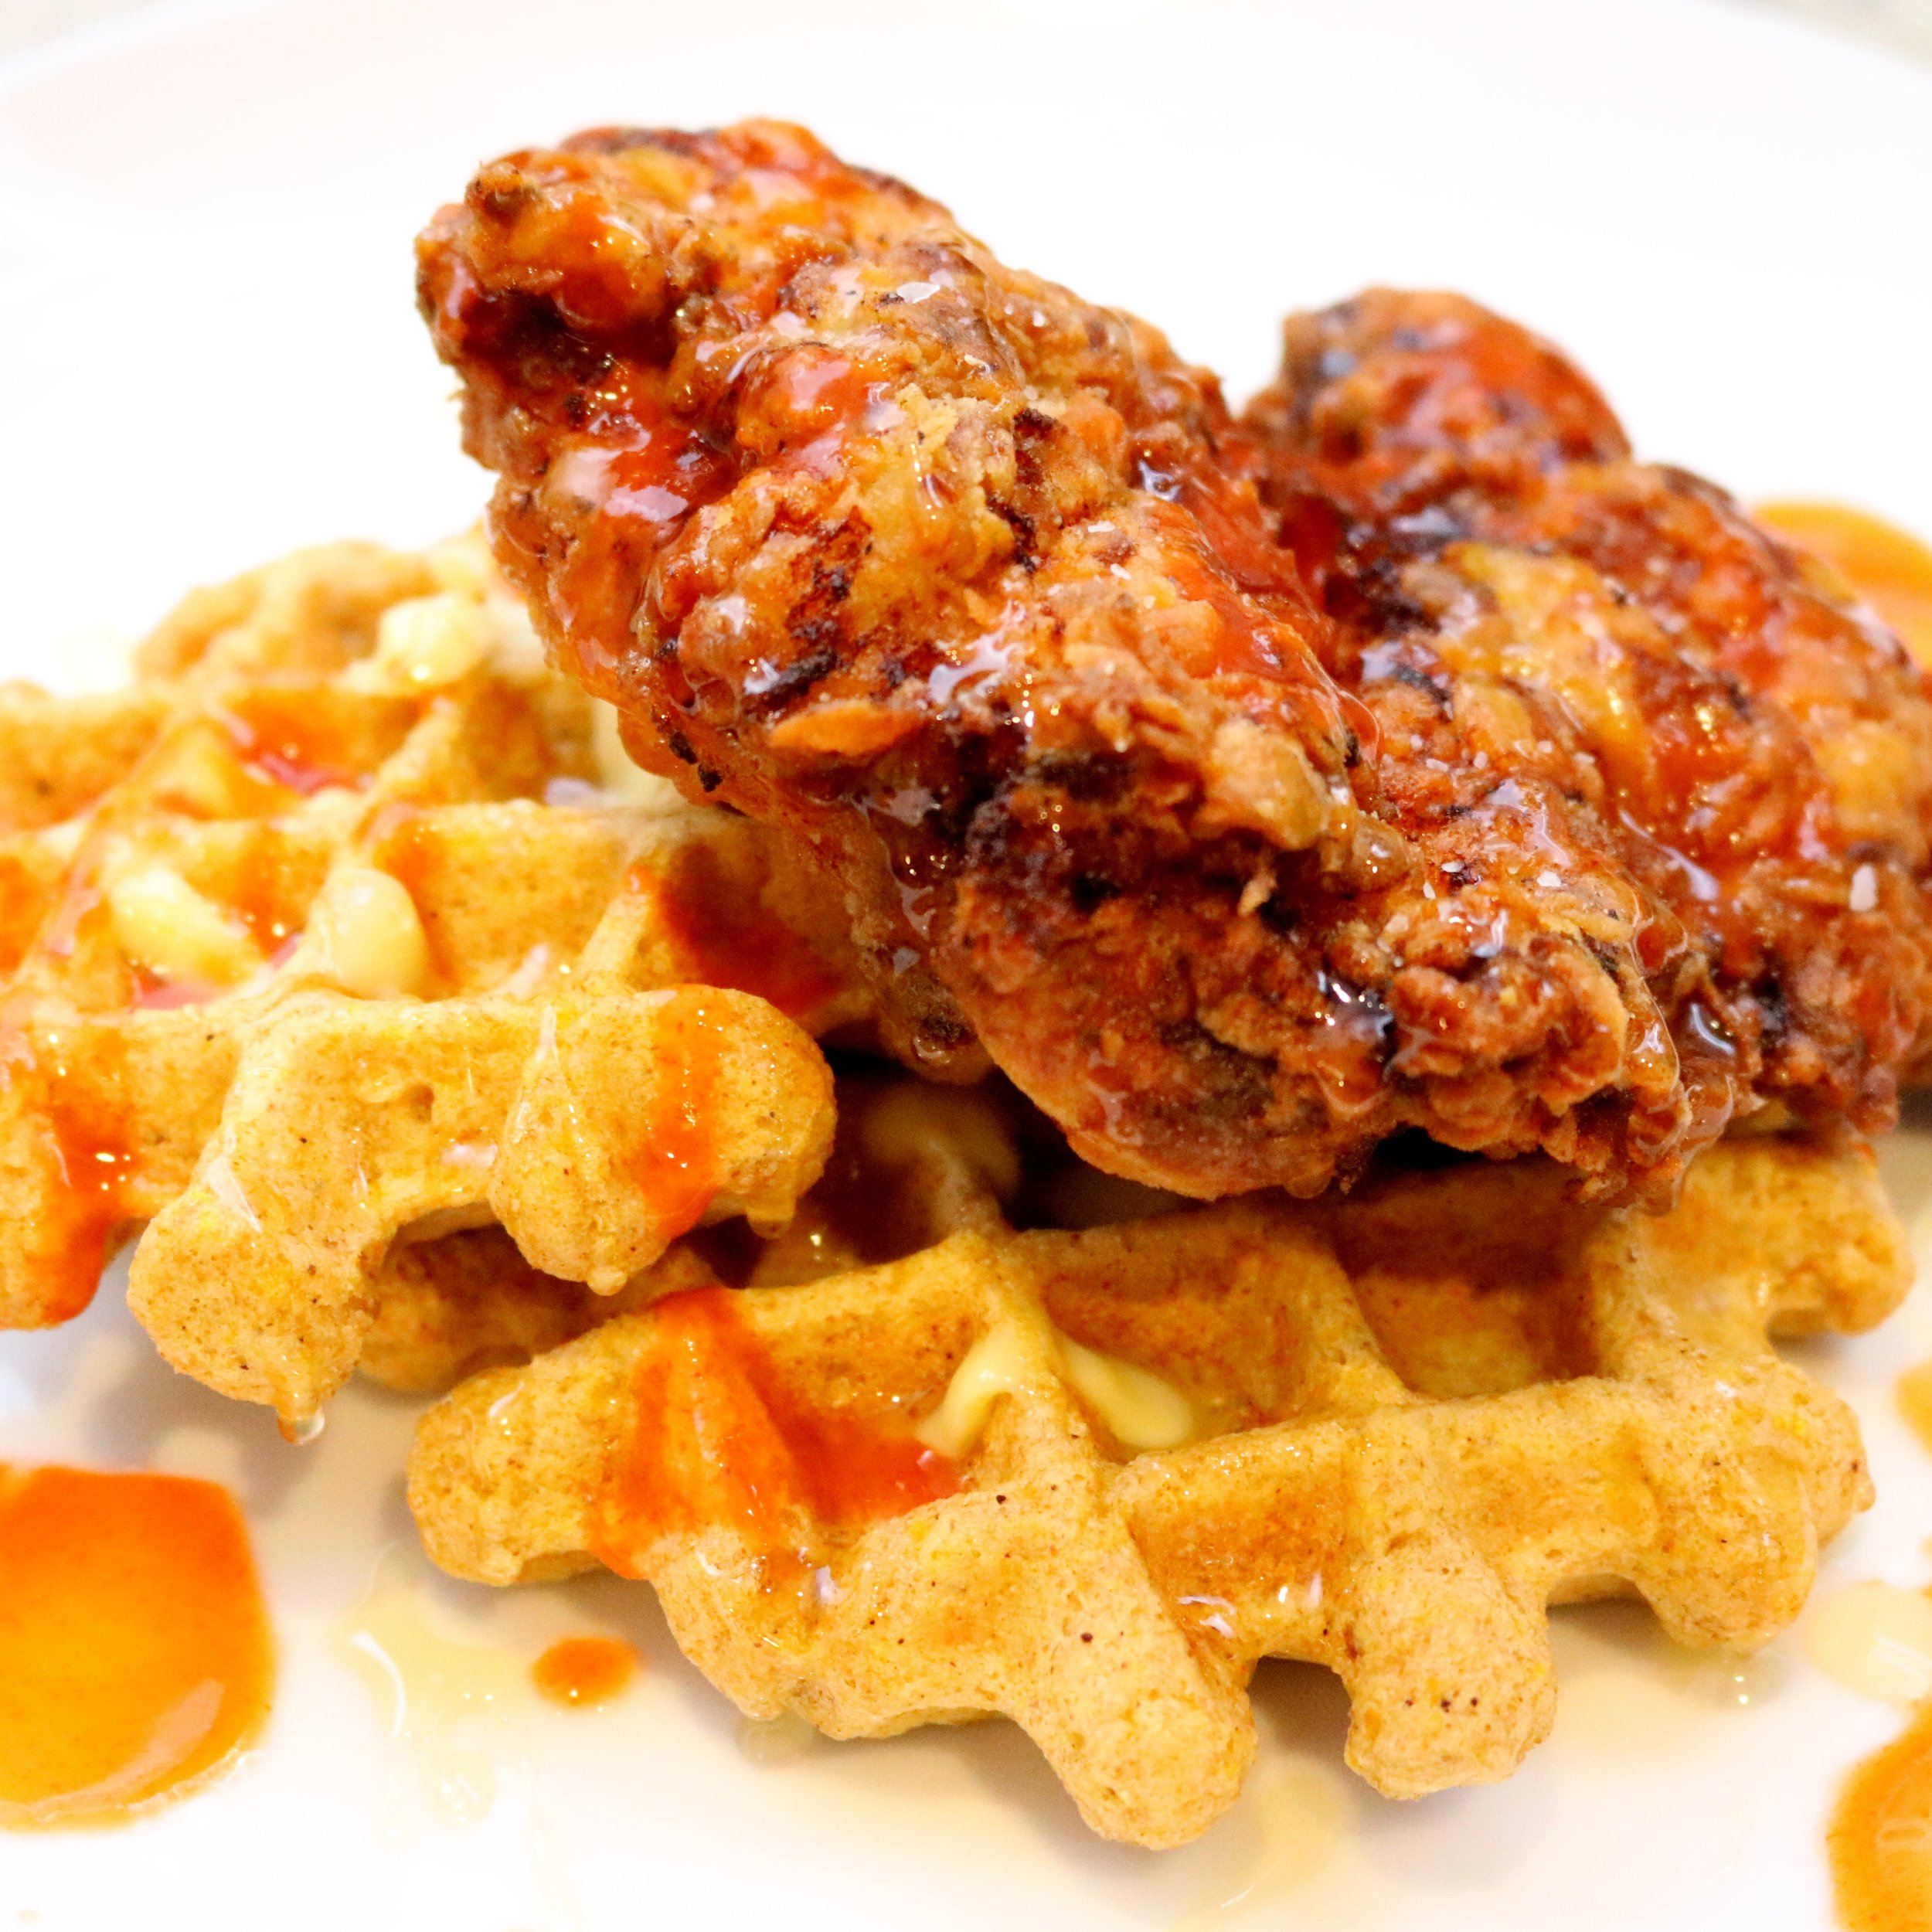
We recommend serving the Fried Chicken over Butternut Squash Waffles, drizzled with a bit of honey and hot sauce.